This week I’m going to be talking about ‘ISO’s’. A lot of people don’t fully understand what the ISO is, what it does and how to set it.
If you use your camera in fully ‘Auto’ (green auto, iAuto etc) then it is likely that you won’t be able to adjust the ISO. A good starting point is to put your camera into the ‘Program (P)’ exposure mode. This mode keeps you camera in automatic, so it will still work out your exposure, but it lets you start to tweak things to start to take a bit more control.
If you’ve got a new camera, chances are your ISO will be set to ‘auto’, so your camera will choose for every photo which ISO it is going to set. Good? Not really. What we are going to do over the coming weeks is to start taking more and more control over what our camera does, so we’ll start with the ISO.
On your camera you will either have a button marked ISO, or you will set your ISO in a quick menu depending on your camera. Once you’ve pressed the button you normally use the main camera input dial to change your ISO.
The ISO range on your camera will usually start at around 50, 100 or 200 depending on your camera and may go all the way up to 12,800 or even much higher as cameras vary with their range. The ISO is effectively how sensitive your camera is to light. The higher the number = the more sensitive to light it is.
Basically put, the lower the ISO = the better the quality of your photo. So for example: You want to take a photo and make a big enlargement to put it on your wall. If you take the photo at ISO 100 the quality of your print will be superb. If you take the same photo at ISO 3200 you will start to see your photo appears to be ‘grainy’ and may have ‘pixelation’ (little squares and colour blocking), which is often visible in the shadows. Some cameras can start to make black shadows have a green tint to them.
“So I should shoot everything at ISO 100 then?” Well, in an ideal world yes, however, in photography there are frequently compromises you have to make. For example, if you are taking a photo of somebody inside and you don’t want to use flash, you will likely find that at ISO 100 your shutter speed will be very slow so you will likely get camera shake at ISO 100. Your compromise is to bump up your ISO to say 800/1600 which makes your camera more sensitive to the light so will enable you to use a faster shutter speed. This will enable you to get a sharp focused image with no camera shake, but you are sacrificing a little quality.
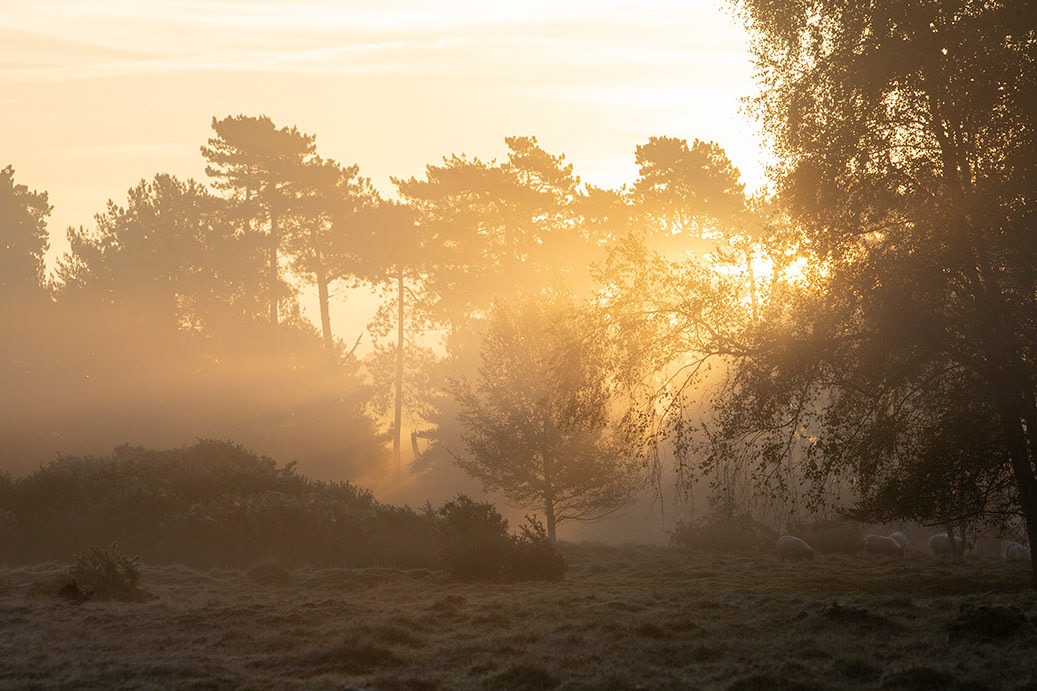
For landscape photography you will want the best possible quality so set your ISO to a low setting (ISO 100 for example). You will likely be using a tripod so the possible combination of small aperture (high F number) and slower/longer shutter speeds won't matter as the tripod removes the risk of camera shake.
Many thanks for reading, and I hope I haven’t confused you even more!